In recent years, containerization has become an increasingly popular way to deploy applications. Containers provide a lightweight and portable way to run the software, making it easy to move applications between different environments and scale them as needed.
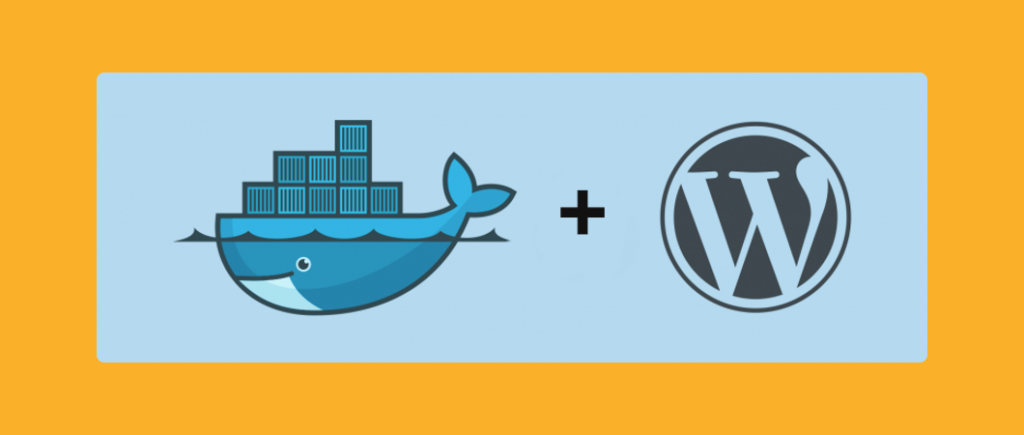
One of the most popular open-source content management systems (CMS) is WordPress. WordPress is a powerful and flexible platform that can be used to create a wide range of websites and blogs. However, deploying WordPress can be a complex process that requires a lot of configuration and setup. Deploying WordPress in a container, it can simplify the process, making it easy to manage and deploy.
In this article, we will show you how to deploy WordPress in a container. We will cover the prerequisites, deployment steps, best practices, and advantages of deploying WordPress in the container. After reading this article, you will be able to deploy and manage your WordPress site in a containerized environment easily.
Table of Contents
Prerequisites
Before you can deploy WordPress in a container, there are a few prerequisites that need to be met.
First, you will need to ensure that you have the necessary hardware and software requirements. This will include a computer with a supported operating system, such as Linux or Windows, and a container orchestration platform, such as Docker or Kubernetes. Additionally, you will need to have a basic understanding of how containerization works and how to use the container orchestration platform you have chosen.
In terms of container orchestration platforms, Docker and Kubernetes are among the most popular options. Docker is a platform that allows you to easily create, deploy, and run applications in containers. Kubernetes is an open-source container orchestration system for automating the deployment, scaling, and management of containerized applications. Both platforms provide powerful tools for managing and deploying containers, but each has its own strengths and use cases.
Before you can deploy WordPress in a container, you will need to set up and configure your container orchestration platform. This will include installing and configuring the necessary software, creating and managing container images, and configuring the container environment. Additionally, you will need to have a basic understanding of how to use the command-line interface (CLI) for your container orchestration platform.
In summary, before deploying WordPress in a container, you will need to have the necessary hardware and software requirements, an overview of container orchestration platforms like Docker or Kubernetes, and the ability to set up and configure the container orchestration platform of your choice. It’s also important to have a basic understanding of how containerization works and how to use the CLI of your container orchestration platform. By fulfilling these prerequisites, you will be able to deploy WordPress in a container with confidence and ease.
Deployment Steps
Once you have met the prerequisites, you can begin the process of deploying WordPress in a container.
- A. Creating a container image of WordPress: The first step in deploying WordPress in a container is to create a container image. A container image is a lightweight, portable, and self-sufficient package that contains everything needed to run a piece of software. You can create a container image of WordPress using a pre-existing image from a container registry like Docker Hub or by building one from scratch using a Dockerfile.
For example, to pull the latest official WordPress image from Docker Hub, you would use the following command:
docker pull wordpress- Running the container image: After creating the container image of WordPress, you can run it using your container orchestration platform. This will start the container and make it available for use. You can specify various options and configurations, such as the container’s name, ports, and environment variables while running it.
For example, to run a new container with the name “my-wordpress” from the WordPress image and map the container’s port 80 to the host’s port 8080, you would use the following command:
docker run --name my-wordpress -p 8080:80 wordpress- Configuring the container environment and linking to a database: Once the container is running, you will need to configure the container environment and link it to a database. This will include setting up the necessary environment variables, such as the database host and credentials, and linking the container to a running database container.
For example, to link a running MySQL container named “my-mysql” to the “my-wordpress” container, you would use the following command:
docker run --name my-wordpress --link my-mysql:mysql -p 8080:80 -e WORDPRESS_DB_HOST=mysql -e WORDPRESS_DB_USER=<your-user> -e WORDPRESS_DB_PASSWORD=<your-password> wordpress- Creating and managing multiple containers: In some cases, you may need to create and manage multiple containers, such as separate containers for the web server and the database. You can do this by creating multiple images and running them separately, or by using a tool like Docker Compose to manage multiple containers as a single application.
For example, to use Docker Compose to manage multiple containers, you would create adocker-compose.ymlfile that describes the services and dependencies, and then uses thedocker-compose upcommand to start the services.
- Scaling and rolling out updates: Once your WordPress site is up and running in a container, you will need to be able to scale it and roll out updates. This can be done by creating new instances of the container, or by using tools like Kubernetes to automatically scale the number of containers based on demand. Additionally, you can use tools like Docker Hub or GitLab to automatically build and deploy new images when updates are available.
For example, to scale the number of replicas of a service using Kubernetes, you would use the following command
kubectl scale deployment <deployment-name> --replicas=<number-of-replicas>You can also use the kubectl rolling-update command to perform a rolling update on a deployment, which will update the containers in the deployment one at a time, ensuring that there is always a running version of the application.
Best practices
- Securing the container environment: It is important to ensure that the container environment is secure. This includes protecting the container from unauthorized access and ensuring that the container and its applications are configured securely.
- You can secure your container by using a firewall to restrict access to the container’s ports, using SSL/TLS to encrypt network traffic, and securing the container’s host system. Additionally, you should keep the container and its applications up-to-date with the latest security patches and updates.
- Backup and disaster recovery: One of the key best practices for deploying WordPress in a container is to have a robust backup and disaster recovery plan in place. This includes regularly backing up the container’s data and configurations, as well as having a plan for recovering the data in case of a disaster.
- You can use the built-in container orchestration platform’s backup feature, or you can use third-party backup solutions like Restic, BorgBackup, or Duplicati. Additionally, you should test your disaster recovery plan regularly to ensure that it will work as expected when needed.
- Monitoring and logging: Monitoring and logging are essential for ensuring that the container environment is stable and that any issues can be quickly identified and resolved. This includes monitoring the container’s performance, resource usage, and network traffic, as well as logging application-level events and errors.
- You can use a built-in container orchestration platform’s monitoring and logging features, or you can use third-party solutions like Prometheus, Grafana, Loggly, or Elasticsearch. By monitoring and logging the container environment, you will be able to quickly identify and resolve any issues that may arise, which will help keep your WordPress site running smoothly.
Conclusion
In conclusion, containerization is becoming an increasingly popular way to deploy applications, and WordPress is no exception. By following the steps outlined in this article, you can deploy WordPress in a containerized environment, making it easy to manage, scale, and update.
It is important to remember the best practices for deploying WordPress in a container, including securing the container environment, having a robust backup and disaster recovery plan, and monitoring and logging. By following these best practices, you can ensure that your containerized WordPress site is stable, secure, and can be easily managed and recovered in case of any issues.
It is also important to note that the commands used in this article are specific to the Docker container orchestration platform, if you are using another platform like Kubernetes, OpenShift, etc the commands will vary. The general process of deploying WordPress in a container is the same, regardless of the specific container orchestration platform used.
Overall, deploying WordPress in a container can provide many benefits, including increased stability, security, and ease of management. By following the steps and best practices outlined in this article, you can deploy WordPress in a container and start enjoying these benefits for yourself.
FAQ
What is containerization and why is it important for deploying WordPress?
What are the prerequisites for deploying WordPress in a container?
How do I create a container image of WordPress?
How do I link a running MySQL container to my WordPress container?
--link option when running the WordPress container and specifying the environment variables for the database connection.