So this article will talk about how we can add the storj to TrueNAS. There are lots of ways in which we can use the Storj in our TrueNAS.
Table of Contents
What is TrueNAS?
TrueNAS is an open-source network-attached storage (NAS) system that provides both file and block storage. It allows you to store and manage your data on a central server and access it from any device on your network. TrueNAS is based on the FreeBSD operating system and uses the ZFS file system, which is known for its reliability and data integrity. It can be deployed on physical hardware or as a virtual machine, making it a versatile and flexible storage solution for businesses of all sizes.
I already discussed how we can install TrueNAS in your environment. You can check by clicking here.
What is Storj?
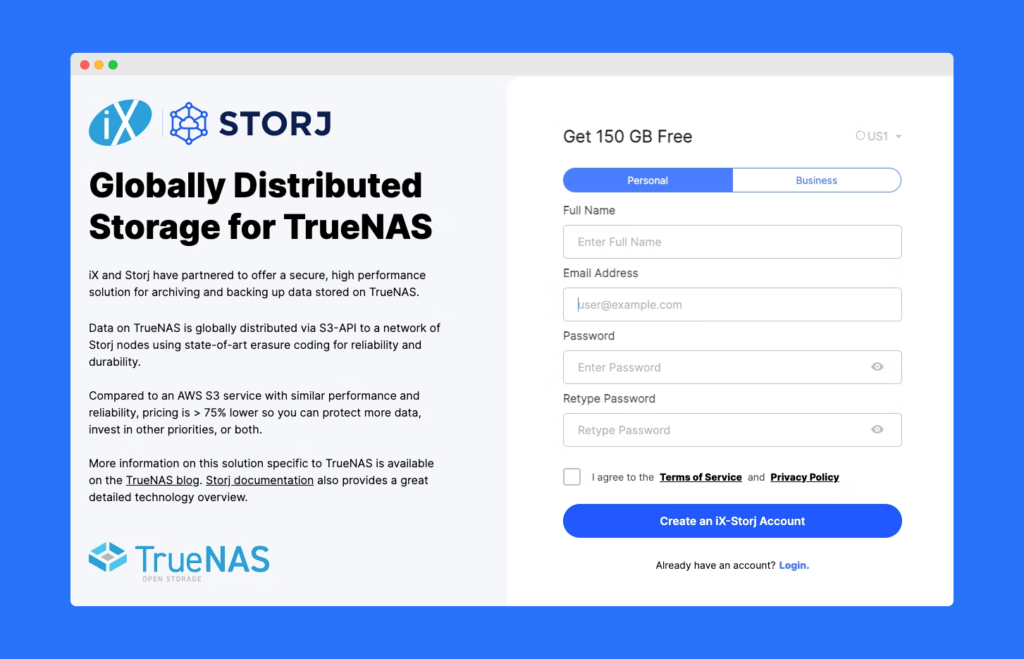
Storj is a decentralized, open-source storage platform that uses a network of distributed nodes to store files securely. It is built on top of the blockchain and uses encryption to protect files from unauthorized access. Storj allows users to rent out their unused hard drive space to the network in exchange for the STORJ token, which can be used to pay for storage on the platform. Because it is decentralized, Storj is resistant to censorship and downtime, making it a potentially attractive option for people who want a more secure and reliable way to store their files.
Advantages of Storj with TrueNAS
There are lots of advantages of using the Storj with TrueNAS few are listed below:
- Its decentralized nature and its use of encryption, enhance the security and reliability of your TrueNAS system.
- Storj is based on the blockchain, you might be able to use it to create a more robust and transparent system for storing and accessing your data
Requirements
If you want to integrate the Storj into TrueNAS. You need to follow things:
- A TrueNAS storage device
- Storj Device
- And most of all patience
How to add Storj to TrueNAS?
For the integration you need to follow the below steps:
- Create a Storj account by clicking here
- Create a bucket
- Navigate to Bucket on the left side
- Click on “New Bucket” and click “Continue”
- Generate a passphrase and select “Continue”
- You have your Bucket created
- Generate S3 credentials
- Navigate to “Access” from the left-side menu
- Click on “Create S3 Credentials”
- Enter the details like Name, and Permission, and Select the bucket that you previously created.
- Once done click on “Encrypt My Access”
- Generate a passphrase and select “Continue”
- Now you will have your Access Key and Secret Key. Have those stores somewhere. As using those. You can integrate with the TrueNAS
- Open the TrueNAS
- Navigate to “Credentials” and select “Backup credentials”.
- Click on Add and Enter Name, Provider, Access Key, and Secret Key.
- Verify these and save.
- Now we need to create a Cloud Sync task for the automatic back of TrueNAS to Storj
- Click on “Data Protection” from the left side menu.
- Select “Cloud Sync Task” and Click Add
- Enter the details like Description, Direction, Transfer Mode, CCredential, Bucket, and Directory
- Once done and click save. Your Cloud Sync Task is created.
- Now you can click on the Run now button and you will also see a success tag.
Conclusion
This is a small article demonstrating the integration of TrueNAS and Storj. Hope you like this article. Stay tuned to CorpIT for the more such amazing article.