
In my previous article, I discussed the process of creating a Kubernetes cluster. If you’re interested in learning how to set up your own Kubernetes cluster in vSphere, you can refer to that article. In this current article, we will explore the steps to configure an Nginx load balancer for your Kubernetes cluster.
Now, let’s understand why an external load balancer is essential for our Kubernetes cluster.
Table of Contents
The Importance of an External Load Balancer for Your Kubernetes Cluster
An external load balancer is essential for a Kubernetes cluster when you need to expose services and applications to clients outside the cluster, such as external users on the internet or other systems outside the Kubernetes environment. External load balancers serve as the entry point to the cluster, enabling communication between external clients and the services running inside the cluster. Here are the main reasons why you need an external load balancer for your Kubernetes cluster:
- Exposing Services to the Internet: Kubernetes services are typically accessed by their Cluster IP within the cluster. An external load balancer provides a public IP address and serves as a gateway to route traffic from external clients to the services running inside the cluster. This enables users on the internet to access your applications and services securely.
- Load Distribution: External load balancers distribute incoming traffic across multiple backend pods or replicas, ensuring that the workload is evenly balanced. This prevents any single pod or node from being overwhelmed and optimizes resource utilization.
- High Availability: By routing traffic to multiple backend pods, external load balancers improve the overall availability of your services. If one pod or node fails, the load balancer will automatically redirect traffic to healthy pods.
- SSL Termination: External load balancers can handle SSL/TLS termination, offloading the decryption and encryption of SSL/TLS traffic from the backend pods. This reduces the computational load on the application pods and improves performance.
- Centralized Access Control and Logging: Many external load balancers offer features like access control and request logging, enabling centralized management of access policies and the ability to monitor and analyze incoming traffic.
- Scalability: As the demand for your services grows, you can scale the backend pods horizontally to handle increased traffic. The external load balancer will distribute traffic among the new replicas, ensuring optimal performance.
Prerequisite for Setting up Your External Kubernetes Cluster:
Before you proceed with configuring your external Kubernetes cluster, make sure you have the following:
- An external Ubuntu VM (or any other Linux flavor, depending on your preference) dedicated for Nginx. It should be created external to Kubernetes cluster.
- Ensure that all the Kubernetes VMs have static IP addresses.
- Have some services running in your Kubernetes cluster that you can use for testing purposes.
Note: The provided steps have been tested on an Ubuntu VM. While Ubuntu is recommended, you have the flexibility to choose any Linux flavor that suits your requirements.
You can refer to the previous article for instructions on how to assign static IP addresses to Kubernetes VMs and set up an Nginx server within the Kubernetes cluster.
Installing Nginx
To get started with the Nginx installation and configuration, follow these steps:
- Log in to your Nginx VM.
- Update the system by running the following command:
sudo apt update && sudo apt upgrade- After updating, proceed with Nginx installation:
sudo apt install nginx- heck the status of the Nginx service using:
systemctl status nginx- Enable the Nginx service to start on boot:
systemctl enable nginx- To verify the firewall rules, use the following command:
sudo ufw app list- Output will be looks something like this:
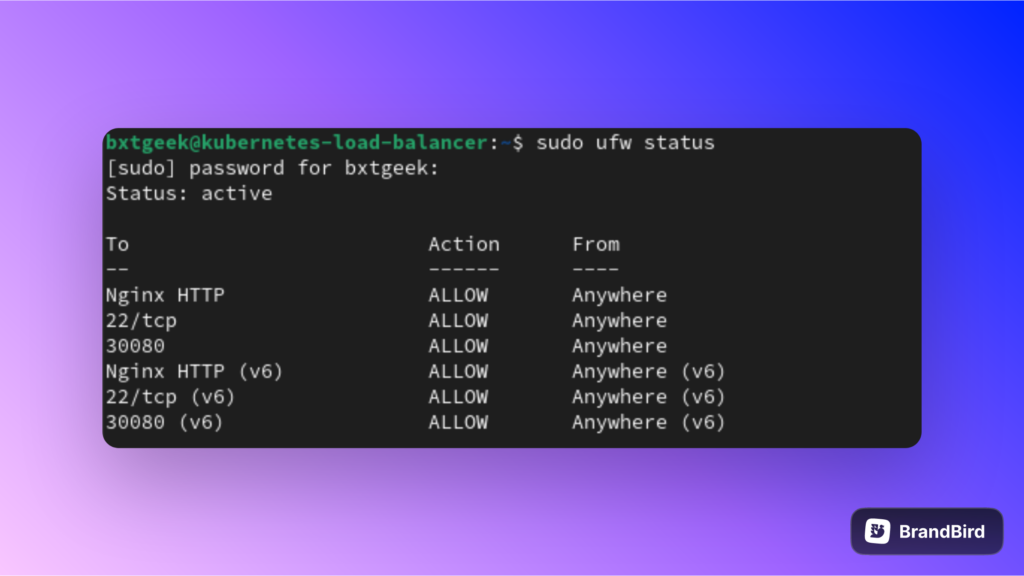
Make sure to follow these steps carefully to set up and configure Nginx on your VM successfully.
Configuring Nginx Load Balancer
After installing Nginx, proceed with the following steps:
- Navigate to the “/etc/nginx” directory:
cd /etc/nginx- Create a backup of the original nginx.conf file:
cp nginx.conf nginx.conf.bk- Edit the nginx.conf file using the following command (you can use any text editor of your choice):
sudo nano nginx.confevents {
# Add relevant event settings if needed
}
http {
# ... other configurations ...
upstream backend {
server 192.168.1.91:30080;
server 192.168.1.92:30080;
server 192.168.1.93:30080;
# Add more backend servers if needed
}
server {
listen 80; # Or any other port you want to use
server_name your_domain.com; # Replace with your actual domain name
location / {
proxy_pass http://backend;
proxy_set_header Host $host;
proxy_set_header X-Real-IP $remote_addr;
}
}
# Other configurations as needed
}
- Validate the syntax of the edited nginx.conf file:
sudo nginx -t- If the syntax test is successful, reload the Nginx server to apply the changes:
sudo nginx -s reload- Finally, open your web browser and enter your Nginx server’s address; it will now be load balancing across one of your Kubernetes nodes.
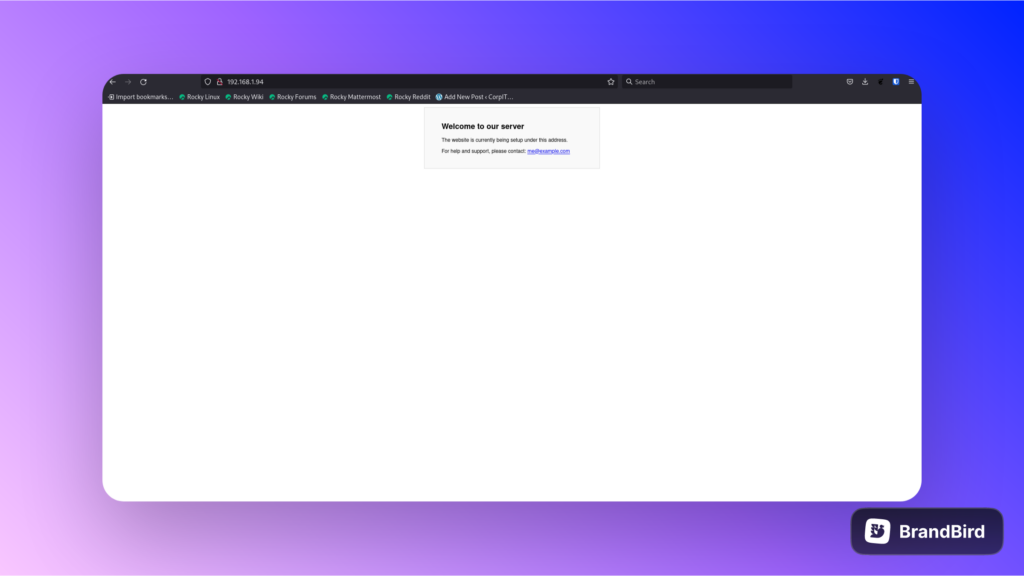
By following these steps, you’ll have configured Nginx as a load balancer for your Kubernetes cluster, allowing for distributed traffic distribution among the nodes.
Conclusion
In conclusion, this step-by-step guide has provided a comprehensive walkthrough for setting up a basic Nginx load balancer for your Kubernetes cluster. By following the outlined instructions, you have successfully configured Nginx to distribute incoming traffic across multiple Kubernetes nodes, ensuring improved scalability, high availability, and efficient resource utilization.