It’s been a while since we delved into the world of Kubernetes on this blog, but fear not! We’re back, and in this article, we’ll be walking you through the process of setting up a Kubernetes cluster in a vSphere environment. Exciting, right? We’ll be creating one master node and two worker nodes, giving you a robust foundation for your container orchestration needs.
Before we dive in, let’s ensure you have everything you need to get started:
- Three Ubuntu VMs (Alternatively, you can use other Linux flavors, but this tutorial is optimized for Ubuntu)
- Static IP addresses assigned to all three VMs
- Controller node with a minimum of 2GB RAM and 2 cores
- Node instances with at least 1GB RAM and 1 CPU core (or more, depending on your preferences)
Note: This guide assumes the use of Ubuntu Server 22.04. If you opt for a different distribution or Ubuntu version, please be aware that some commands may vary.
Table of Contents
Setting up static IPs
Login into any Ubuntu VM using ssh and run the following commands.
- Change the directory to /etc/netplan:
cd /etc/netplan- List the files in the directory to identify the configuration file:
ls- Create a backup of the existing configuration file (assuming the file name is “00-installer-config.yaml”):
sudo cp 00-installer-config.yaml 00-installer-config.yaml.bk- Open the configuration file using the nano text editor:
sudo nano 00-installer-config.yaml- Add the below config but make sure you change the IP address as per your need
# This is the network config written by 'subiquity'
network:
  renderer: networkd
  ethernets:
    ens160:
      addresses:
        - 192.168.1.91/24
      routes:
        - to: default
          via: 192.168.1.1
      nameservers:
          addresses: [192.168.1.78]
          addresses: [8.8.8.8]
version: 2- Validate the new configuration without applying it permanently:
sudo netplan try- If the validation is successful, apply the new configuration:
sudo netplan applyGreat! Now that we have assigned static IP addresses to all the Ubuntu VMs, let’s proceed with the installation. Remember to execute the following commands on all VMs unless specified.
Installing contained
In order to manage container lifecycles effectively on both physical and virtual machines, we’ll be using containerd, a versatile container runtime. This remarkable daemon process allows for seamless container creation, start-up, shutdown, and destruction. Additionally, containerd facilitates container image retrieval from registries, storage mounting, and networking for containers.
Let’s proceed with the containerd installation. Execute the following commands to set it up:
- Install containerd on your system:
sudo apt install containerd
- Create the initial configuration directory for the containerd:
mkdir /etc/containerd- Generate the default configuration and save it in the designated directory:
containerd config default | sudo tee /etc/containerd/config.toml
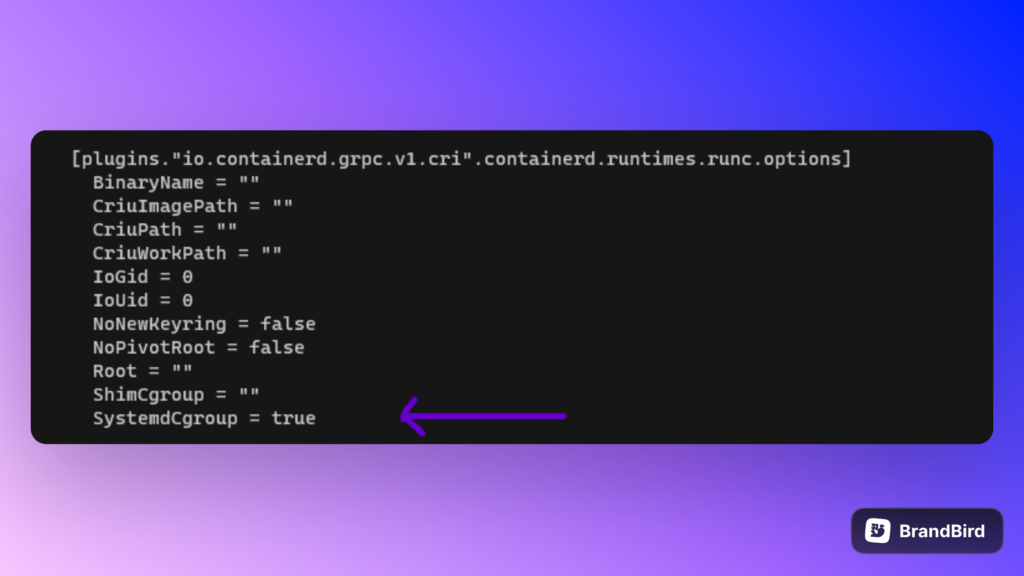
- To ensure proper functionality within the cluster, we’ll enable SystemdCgroup within the configuration. Open the configuration file for editing:
sudo nano /etc/containerd/config.toml
- Use
Ctrl+Wto activate the search feature in the nano editor and find the “runc.options” section. Beneath it, locate the “SystemdCgroup” option and modify it to “true,” as shown below:
SystemdCgroup = true
With these steps complete, the containerd will be up and running.
Disable swap
To ensure optimal performance of your Kubernetes cluster, it’s crucial to disable the swap space. Let’s first check if swap is enabled on your system by running the following command:
free -m
If the output shows zero under the “Swap” column, that means the swap is already disabled. However, if you see a non-zero value, it indicates that the swap is currently enabled.
To disable the swap, execute the following commands:
- Turn off the swap space:
sudo swapoff -a
- Now, open the fstab file for editing:
sudo nano /etc/fstab- In the fstab file, locate the line that references the swap partition and add a “#” symbol at the beginning of the line to comment it out. This will effectively disable the swap.
After making these changes and saving the fstab file, the swap will be successfully disabled.
Enable bridging
To enable bridging, we just need to make a small configuration change in one file. Here’s how you can do it:
- Open the sysctl configuration file for editing:
sudo nano /etc/sysctl.conf- Within the file, locate the following line:
#net.ipv4.ip_forward=1- Uncomment the line by removing the “#” symbol at the beginning, so it appears like this:
net.ipv4.ip_forward=1- Save the file and exit the text editor.
By making this change, you have enabled IP forwarding, which is essential for bridging and networking in your Kubernetes environment.
Enable br_netfilter
The next important step in setting up your Kubernetes networking involves enabling br_netfilter. To do this, you’ll need to edit a configuration file. Follow these steps:
- Open the k8s.conf file using the nano text editor:
sudo nano /etc/modules-load.d/k8s.conf
- If the file is empty (which is likely for a new installation), add the following line to the file:
br_netfilter
Save the file and exit the text editor. By adding this line, you are instructing the system to load the br_netfilter kernel module at boot, which is necessary for Kubernetes networking to work seamlessly.
Installing Kubernetes
The next crucial step in setting up your Kubernetes cluster is to install the required packages. Let’s walk through the process:
- Add the necessary GPG key by running the following command:
curl -fsSL https://packages.cloud.google.com/apt/doc/apt-key.gpg | sudo gpg --yes --dearmor -o /usr/share/keyrings/kubernetes-archive-keyring.gpg
- Add the Kubernetes repository to the system’s package sources:
echo "deb [arch=$(dpkg --print-architecture) signed-by=/usr/share/keyrings/kubernetes-archive-keyring.gpg] https://apt.kubernetes.io/ kubernetes-xenial main" | sudo tee /etc/apt/sources.list.d/kubernetes.list > /dev/null- Update the package list to include the newly added Kubernetes repository:
sudo apt update- Install the required Kubernetes packages (kubeadm, kubectl, kubelet) on your system:
sudo apt install kubeadm kubectl kubelet
With these steps completed, you have successfully installed the essential Kubernetes packages, setting the stage for creating and managing your Kubernetes cluster. It’s time to take your cluster setup to the next level!
Reboot your servers
Reboot all your servers. Currently, we have 2 worker nodes. Convert one worker node into a VM template. Going forward, if you need to create a new worker node or master node, you can use that template.
Master Node Only: Initialize our Kubernetes cluster
Congratulations on reaching this pivotal moment in your Kubernetes journey! Now, it’s time to take the plunge and initialize the cluster on your Master node. Make sure to personalize the following steps by adjusting the IP address and the Master node name to match your specific configuration.
- To start the initialization process, run the following command:
sudo kubeadm init --control-plane-endpoint=YOUR_CONTROLLER_IP --node-name=YOUR_CONTROLLER_NAME --pod-network-cidr=10.244.0.0/16
Remember to replace “YOUR_CONTROLLER_IP” with the first IP address shown in your setup (not the second one), and also update “YOUR_CONTROLLER_NAME” to match the name you’ve assigned to your controller node.
You’re just steps away from assuming control over your Kubernetes cluster with your user account. Here are the commands you need to execute to gain access without relying on the root account:
- Create the necessary directory for your user’s kubeconfig:
mkdir -p $HOME/.kube
- Copy the Kubernetes configuration file to your user’s kubeconfig directory:
sudo cp -i /etc/kubernetes/admin.conf $HOME/.kube/config
- Grant ownership of the configuration file to your user account:
sudo chown $(id -u):$(id -g) $HOME/.kube/config
With these three commands, you have successfully equipped your user account with the privilege to manage the Kubernetes cluster.
Install an Overlay Network
To set up an overlay network, you can utilize the Flannel network by executing the following command:
kubectl apply -f https://raw.githubusercontent.com/flannel-io/flannel/master/Documentation/kube-flannel.yml
Please note that this overlay network is essential for proper functioning.
Adding Nodes
Once you have initialized the cluster, you will receive a join command from the output. You can run this join command on your node instances to add them to the cluster. To monitor the nodes that have been added to the controller, you can use the following command:
kubectl get nodes
Please note that it may take several minutes for the nodes to appear in the list after joining.
If, for any reason, the join command has expired, you can generate a new one using the following command:
kubeadm token create --print-join-command
This will provide you with a fresh join command to add new nodes to the cluster.
After adding all the nodes to the cluster, you can use the following command to verify the list of nodes:
kubectl get node

By default, you won’t see the roles assigned to the nodes. To assign a role to a node, you can set a label using the following command:
kubectl label node <node-name> node-role.kubernetes.io/worker=worker
Replace <node-name> with the actual name of the node you want to label as a worker node. This command will label the specified node with the role “worker,” indicating that it will be used for running worker pods in the cluster.
Deploying a container within our cluster
Create a basic example of a Kubernetes Pod YAML file named pod.yml:
apiVersion: v1
kind: Pod
metadata:
  name: nginx-example
  labels:
    app: nginx
spec:
  containers:
    - name: nginx
      image: linuxserver/nginx
      ports:
        - containerPort: 80
          name: "nginx-http"
This YAML file defines a Kubernetes Pod named example-pod with a single container named container-1. The container runs the latest version of the Nginx image and exposes port 80.
To apply the pod.yml file and create the pod, use the following command:
kubectl apply -f pod.yml
This will send the YAML file to the Kubernetes API server, and the pod will be created based on the specified configuration.
To check the status of the pod deployment, use the following command:
kubectl get pods
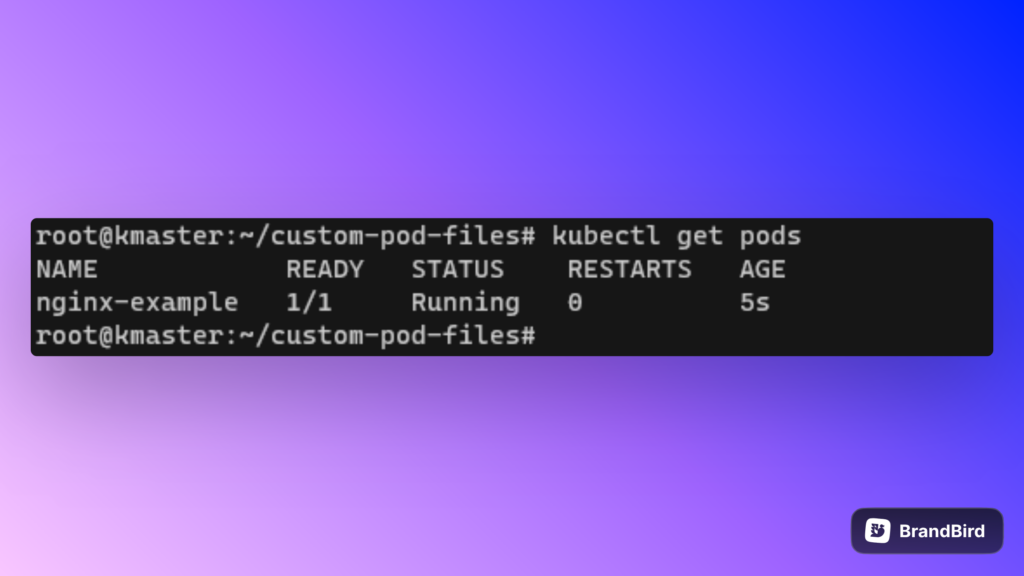
This will display a list of pods in the current namespace along with their status, allowing you to monitor the status of the newly created pod.
Congratulations on creating your first pod in the Kubernetes cluster!
To get more information about the pods, including the internal IP, you can use the following command:
kubectl get pods -o wideThis will display a list of pods along with their internal IP addresses, which are essential for accessing the services running inside the pods.
Now, to view the default Nginx page from the command line using curl, you need to replace pod-ip in the command below with the actual internal IP address of your Nginx pod:
curl <pod-ip>After running this command, you should see the HTML response of the default Nginx page printed in your command line. If everything is set up correctly, you have successfully accessed the Nginx service running inside your Kubernetes pod.
Creating a NodePort Service
The NodePort service acts as the entry point for external requests to your application. It allows access to the assigned NodePort from outside the cluster through the kubeproxy settings on each worker node.
To enable access to the pod from external networks, you must create a new YAML file named “service-nodeport.yml.”
apiVersion: v1
kind: Service
metadata:
  name: nginx-example
spec:
  type: NodePort
  ports:
    - name: http
      port: 80
      nodePort: 30080
      targetPort: nginx-http
  selector:
    app: nginx
Once you have created the file, apply it to the cluster using the following command:
kubectl apply -f service-nodeport.yml
To confirm that the Kubernetes server has applied the service, use the following command:
kubectl get service
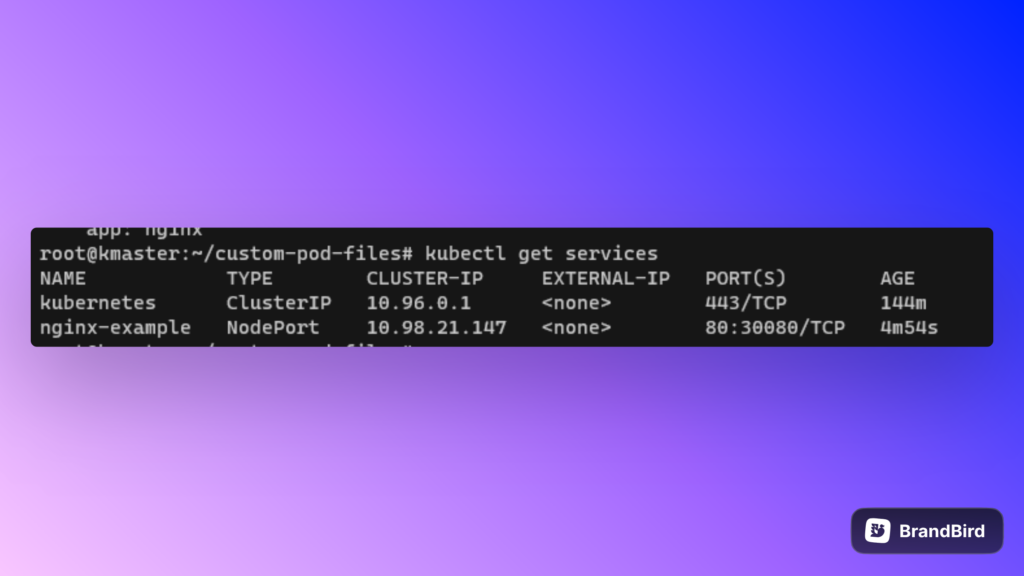
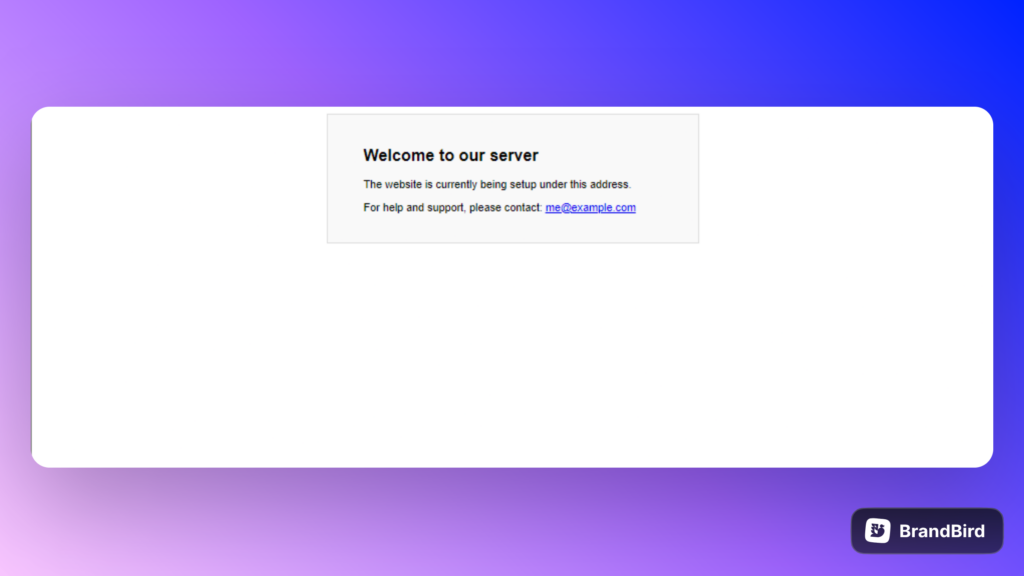
After successful deployment, you can access the default page of Nginx in your browser using the cluster’s IP address and the NodePort (e.g., cluster-ip:30080).