
Setting up a home lab is a bit tricky but it will help you in lots of things. There is no one way to set up your home lab. I can do all those things using one single vagrant file. But will discuss that in some other article. This article will see how we can set up the Home lab Manually.
Table of Contents
Hardware Prerequisites
To set up the lab we need some prerequisites and based on that we can proceed further. For my lab, I am using an old Laptop with the below configuration.
- 256GB SSD
- 1TB HDD
- i3 Processor
- 8 GB RAM
Suggest to you have at least the below config.
- 512GB HDD
- 4 GB RAM
- i3 Processor
Software Prerequisites
Now you to download the tools that will help you to set up your home lab. Here you need 2 things.
- Ubuntu Server ISO image – Ubuntu Server is a server operating system, developed by Canonical and open source programmers around the world, that works with nearly any hardware or virtualization platform. You can download the Ubuntu Server ISO image from here.
- Virtualbox – Oracle VM VirtualBox is a type-2 hypervisor for x86 virtualization developed by Oracle Corporation. You can download the VirtualBox from here.
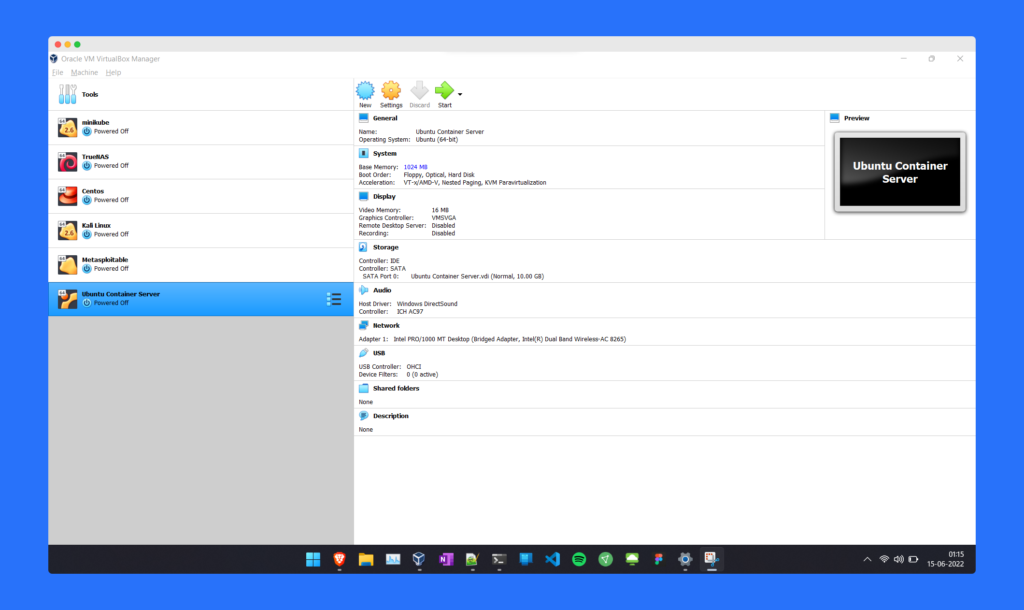
How to create a Virtual Machine over Oracle VirtualBox
Install the VirtualBox on your machine. Now you have to create a VM in your VirtualBox. So let’s see how we can create one.
- Click one new and name the machine. Select the type and version.
- Once selected it will ask for the memory size. You can give here whatever you want for this demo I am giving 256MB.
- Now you need to create a virtual hard drive where your os will store. select the default option and click next. Select around 40Gb it will be more than enough for our example.
- Now hit create and it will create our machine.
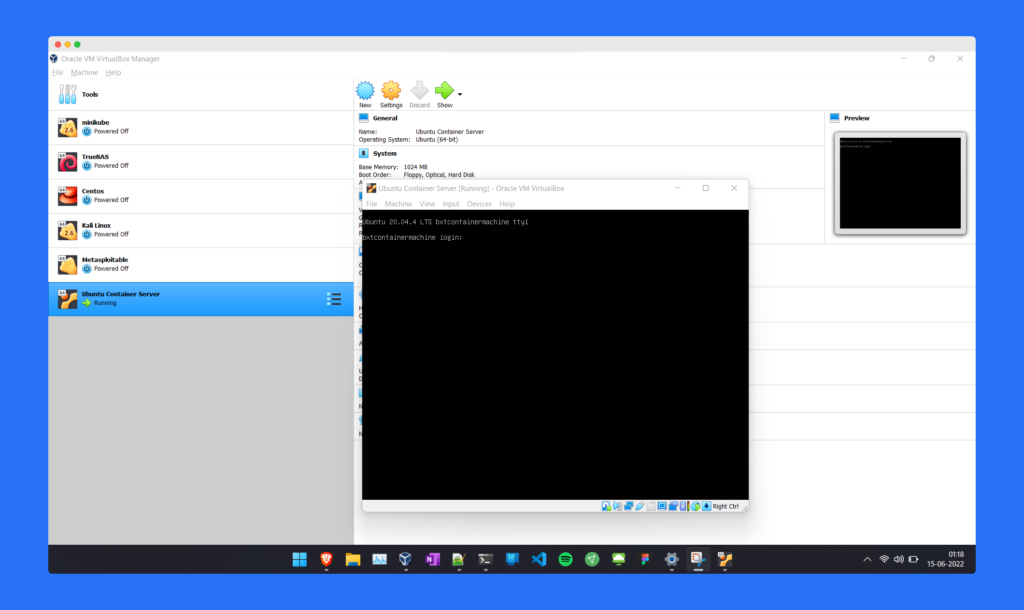
Install Ubuntu Server on your Virtual Machine
Now our machine is created we need to install the Ubuntu server os in it.
- Click on start and it will ask for ISO.
- Select the ISO from the place where you downloaded it.
- Then you need to go with the installation wizard and it will create the ubuntu machine for you.
- Now you have a fully working Ubuntu virtual machine.
Network setting for the Virtual Machine
Now you need to access that machine so there are various methods like opening it starts working on it. but it is a bit laggy. So will use the SSH here.
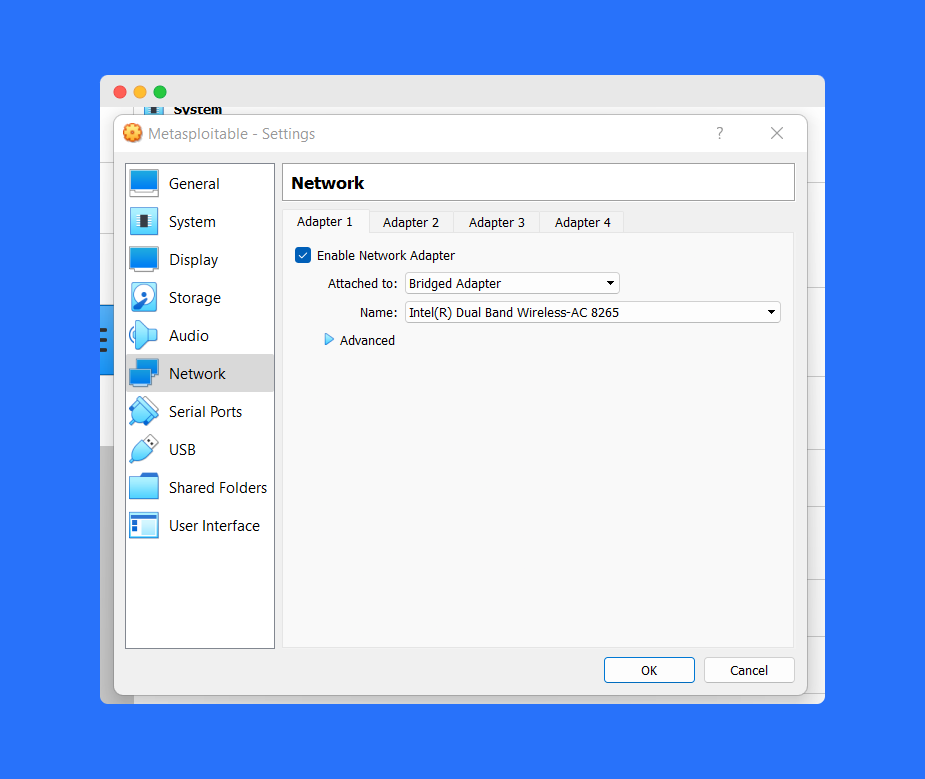
But to access the machine over the ssh we need to change the network adapter.
- Shut down the machine.
- Click on setting
- Go to network.
- Select the Bridge adapter from the drop-down and click ok.
Installing SSH in Ubuntu Server
Now we need to install the SSH in the machine to access the machine. Open the machine and run the below commands.
- Using the below command will update all the existing packages in the system.
Sudo apt update && Sudo apt upgrade - It will install the SSH on our machine
Sudo apt-get install OpenSSH-server - It will enable the service. So when our server reboots it will make that service up. So we need to turn on the service manually.
sudo systemctl enable ssh - You can start the service from the below command.
sudo systemctl start ssh - Run the below command to find out the Ip address of the machine
Ip -a
So now your SSH service is running and you also know the IP address of the machine. Now you need to open the cmd in the base machine and run the below command.ssh <username>@<IP_Address>

It will prompt for the password or something it will also show an ssh fingerprint message so select that as yes. Now enter your password and you are good to go.
So till now, you saw how we can create a VM. Also how we can install the Ubuntu server in that. As of now we also install the SSH. Using this we can access our VM from the base machine.
Installing docker in Ubuntu Server
So now start playing with the container and for that we need to install the docker. Let see how we can install that.
So now start playing with the container and for that, we need to install the docker. Let’s see how we can install that.
- It will update your system library.
sudo apt update - Install the prerequisite packages
sudo apt install apt-transport-https ca-certificates curl software-properties-common - Add the GPG key for the official Docker repository
curl -fsSL https://download.docker.com/linux/ubuntu/gpg | sudo apt-key add - - Add the Docker repository to APT sources:
sudo add-apt-repository "deb [arch=amd64] https://download.docker.com/linux/ubuntu bionic stable" - Update the Docker packages
sudo apt update - Install from the Docker repo
apt-cache policy docker-ce - Finally, install Docker
sudo apt install docker-ce - Check the Docker current status
sudo systemctl status docker
Now we have the our docker install. Let let spin up some docket container.
Working with Docker Images
- It will show you all the commands that you can use with the docker
sudo docker - It will show you the status of the current node.
Sudo docker info - Using this it will run a simple container hello-world
Sudo docker run hello-world - It will show all the containers in your node.
sudo docker images
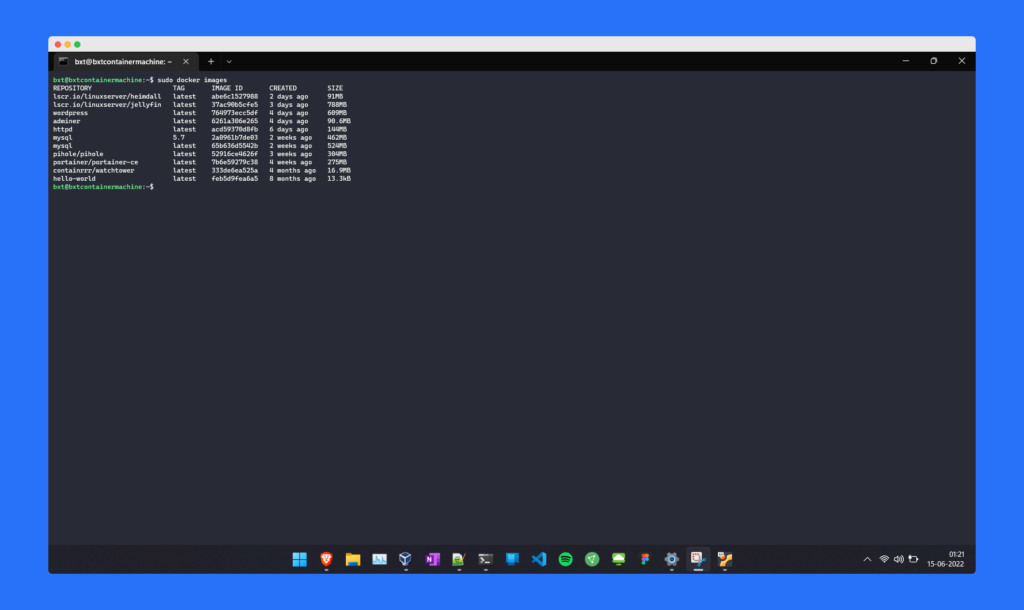
Disclaimer – In the image there are lots of container are showing as I install all of them. But in your case you will only see only hello-world. So dont freak out.
So if you follow the article till here you know how you can setup the your home lab. In the upcoming article will see how we can install Portainer in it and manage your container using that.
Setting up the Docker Host using the vagrant
so using this vagrant file you can easily setup this docker host in your computer you need to have the vagrant install in your machine. Once vagrant install you can follow the below steps:
- Create a folder with the name docker host.
- Download the vagrant file in the folder and open cmd and enter the below command.
Vagant Up (It will create the vm in the virtualbox)
Vagrant SSH (Using this you can login into the machine)
Once the above command done. You have your docker host ready to play.


[…] our homelab series, we already saw how we can create a docker host. We also saw how we can install the portainer in the docker host. Now we have our home server […]